Should we “fill-in” that bunker?
- Joe Jemsek

- Apr 14, 2021
- 3 min read
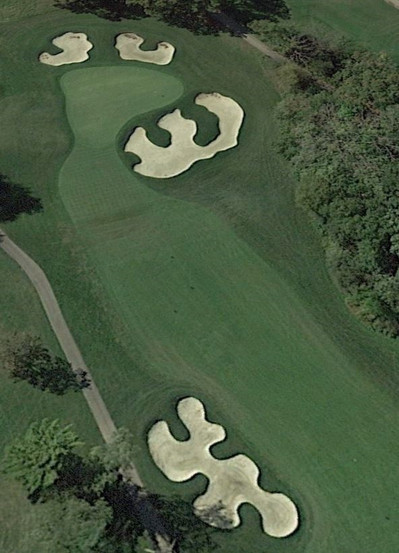
One of the most common questions I get asked while working on golf course master plans is: Should we fill in that bunker? Bunkers find their way onto the golf course landscape for many reasons; strategic, aesthetic, penal, directional, and even to satisfy safety concerns. The answer isn’t always a simple yes or no. First, it’s important to understand the reason for specific bunkers and then create a plan for removal if the bunker has reached the end of its lifespan. Effective bunker removal is more than truckloads of dirt or a pallet of sod and requires balancing the design needs with resources required for ongoing maintenance.
Reduce Maintenance Expense
At St Andrews Golf & Country Club in West Chicago, IL the goal was to reduce maintenance expense without sacrificing the excitement of the golf course. After analyzing the design, I concluded that removal of the rear bunker and the sand farthest from the green surface could accomplish the goal. Beyond reducing the square footage by 50% we also were able to nearly eliminate the need for hand maintenance by softening the shaping, while still retaining the dramatic style.

BEFORE

AFTER
Changes to the strategy
As courses across the country struggle with labor shortages, many look to bunker reduction to alleviate labor demands and provide cost savings. At Cog Hill Golf & Country Club, a former PGA Tour venue, previous bunker additions attempted to create a drivable par 4 strategy for tour events. The strategy didn’t challenge PGA Tour players and proved to be a burden on regular players while creating additional work for the maintenance team. Special attention was paid to remove the majority of the shaping around the fairway bunker (1) and blend surrounds into expanded fairway or rough. The green side bunker (2) was softened and converted to rough grass. The 30% reduction in bunker area speeds up daily maintenance, improves player access, and allows for easier recovery shots.
BEFORE AFTER
What to avoid
The biggest mistake I see is ignoring the shaping around the bunkers and erroneously creating awkward mounds or depressions that complicate the maintenance and may be counterproductive in making courses more user friendly. In order to do this correctly, it is essential to reshape surrounds to ensure it appears as as if the bunker never existed.

Pictured above is a golf hole in the middle of an in-house bunker renovation. The bunker on the left has new drainage and sand, the center bunker has been removed, and the rear bunker is good example of the condition before renovations. I was told center bunker was removed because it was difficult for older membership to carry the ball onto green. Unfortunately the resulting rough which replaced the bunker has only exasperated the problem and left the area looking rather unattractive.

The bunker in this picture was filled in to create a small mound directly in front of the green as far back as 2010. Over a decade later, the area still sticks out like a sore thumb, especially during the winter as Bermuda grass goes off color.
Recommendations and Steps to Success
Before embarking on any bunker reduction project follow these steps and solicit advice from a professional.
Ask questions and set goals for the project : Is the purpose of filling in the bunker to simplify maintenance, increase player access, or change the aesthetics of the hole?
Determine the original purpose of the bunker and ask if it still relevant?
Choose an appropriate method for bunker reduction or removal.
If removing a bunker, ensure to remove shaping and blend the area into the existing surroundings.
Make sure you don’t create a new problem that lands you right back where you started when undertaking the project.
Lastly, review the final product to make sure your goals were met.


Comments